How to Activate Send Email in AI Website Chatbot
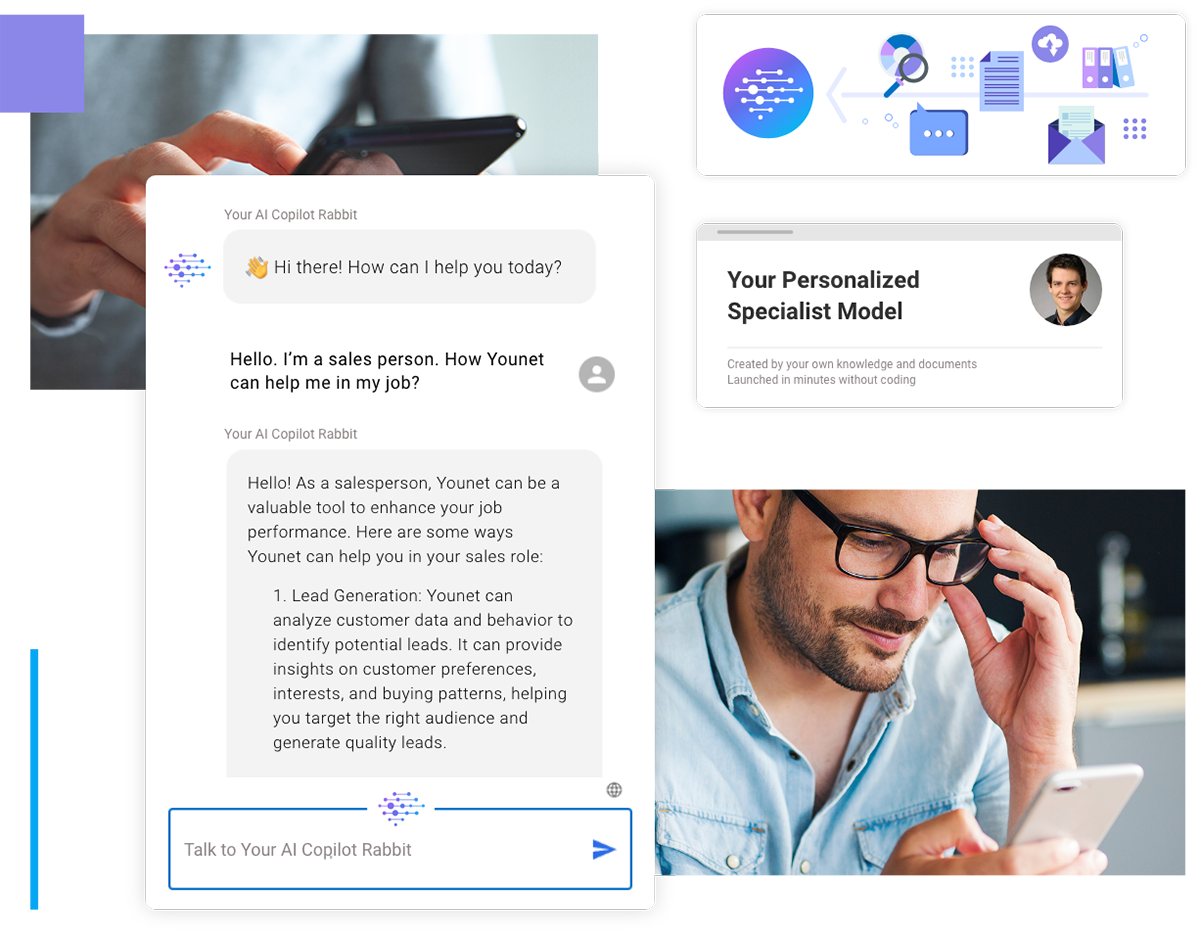
Enhancing your website chatbot with the ability to send emails can significantly improve customer support and streamline communication. By enabling this feature, your AI chatbot can automatically create and send emails to a dedicated support email or your ticket system's help center. This guide provides a step-by-step approach to activating the Send Email functionality in your Younet Website Chatbot.
Step 1: Train Your AI Model
- Begin by ensuring your AI model is well-trained with the necessary data to handle user interactions effectively. This foundational step is crucial for the chatbot to understand when and how to send emails.
Step 2: Generate Chatbot Code
- Log in to your Younet account.
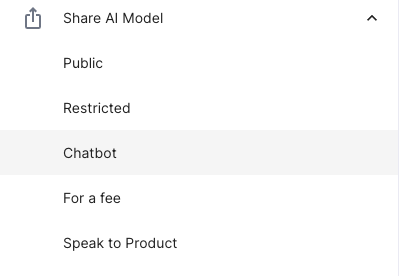
- Navigate to the "Share AI Model" section.
- Select "Website Chatbot" to generate the JavaScript code snippet for your chatbot.
Step 3: Integrate the Chatbot on Your Website
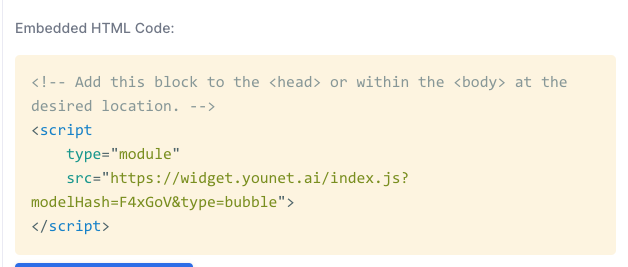
- Copy the generated JavaScript code.
- Paste the code into the HTML of your website where you want the chatbot to appear. Typically, this is done in the
orsection of your webpage.
Step 4: Configure Email Sending
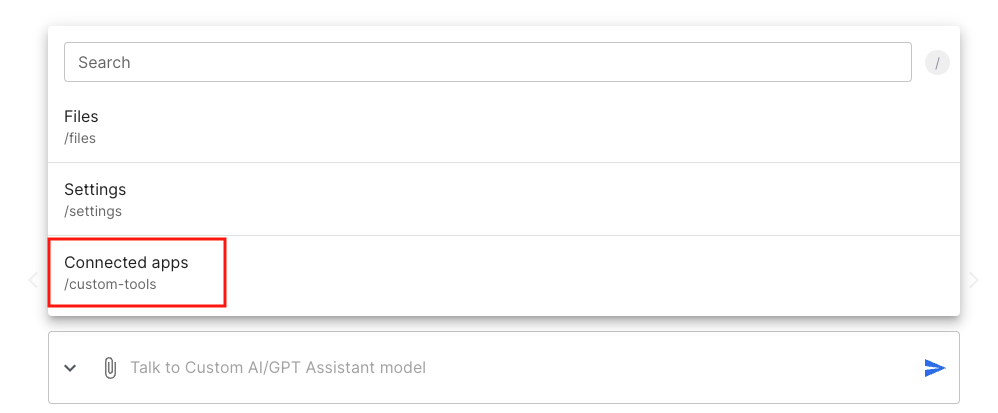
- Use Younet's Connected Apps or create a custom tool to enable email functionality.
- Go to the "Connected Apps" section on the Younet platform.
- Click on "Send email" and input the necessary details for email sending, such as the SMTP server information or third-party email service API credentials.
Step 5: Set Up Email Triggers
- Define the conditions under which the chatbot should send an email. This could be based on specific user inputs or actions.
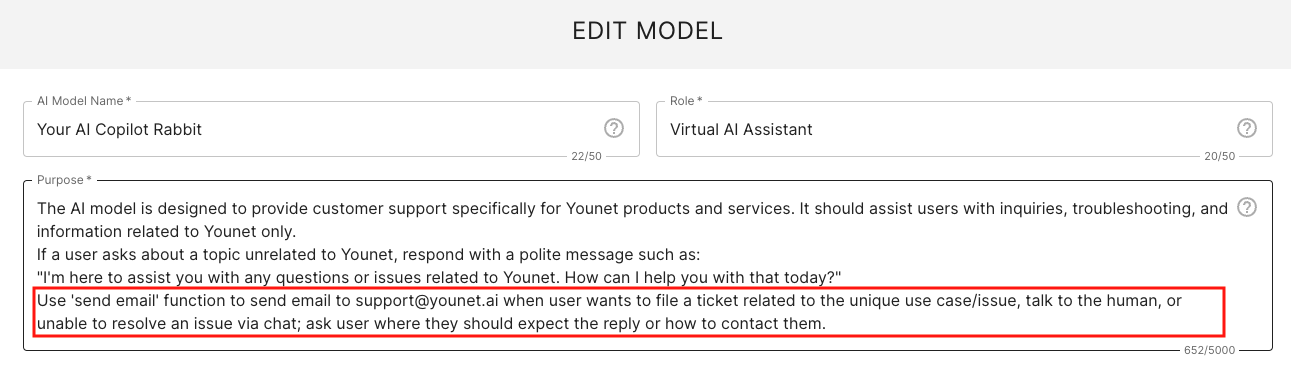
- Open the settings of your AI agent and adjust the rules and instructions. For example, you can set the chatbot to use the 'send email' function to send an email to YourEmail@example.com when a user wants to file a ticket or needs human assistance.
Step 6: Test the Chatbot
- Interact with the chatbot on your website to ensure it responds correctly and sends emails as expected.
- Make any necessary adjustments to improve performance and reliability.

Step 7: Monitor and Optimize
- Continuously monitor the chatbot's interactions and email functionality.
- Gather user feedback and make improvements to enhance the user experience.
Activating the Send Email functionality in your Younet Website Chatbot is a powerful way to enhance customer support and streamline communication. By following these easy-to-understand steps, you can ensure your chatbot is equipped to handle user inquiries efficiently and effectively. For further assistance, feel free to contact Younet support.