
Creating a custom AI model can significantly enhance your ability to automate tasks, provide personalized experiences, and leverage artificial intelligence to solve complex problems. In this detailed guide, we will walk you through the steps to create a custom AI model using the Younet AI platform. Follow these instructions to build a model tailored to your specific needs.
Step-by-Step Guide: How to Create a Custom AI Model
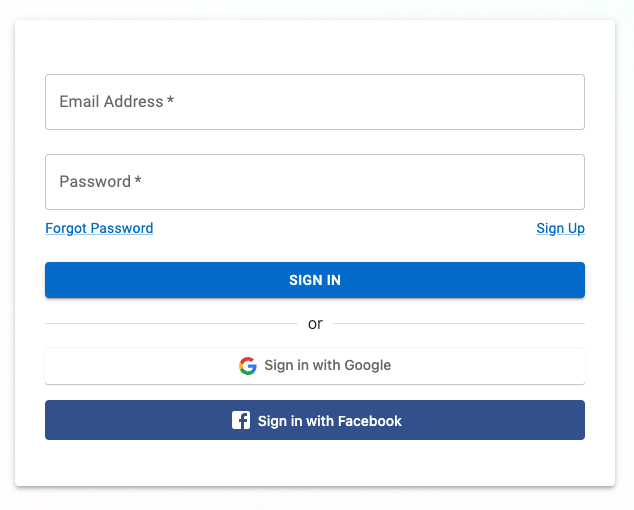
Step 1: Sign Up and Log In
- Sign Up: If you don't already have an account, sign up on the Younet AI website.
- Log In: Use your credentials to log in to the Younet AI platform.
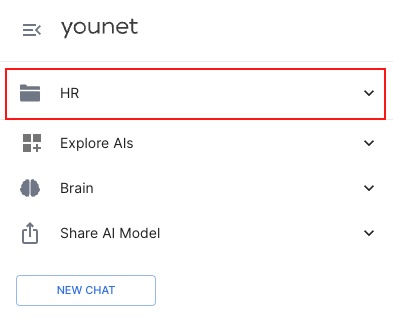
Step 2: Access the AI Model Section
- Navigate to Models: Once logged in, go to the 'Models' section from the main dashboard.
- Create New Model: Click on the 'Create New Model' button to start building your custom AI model.
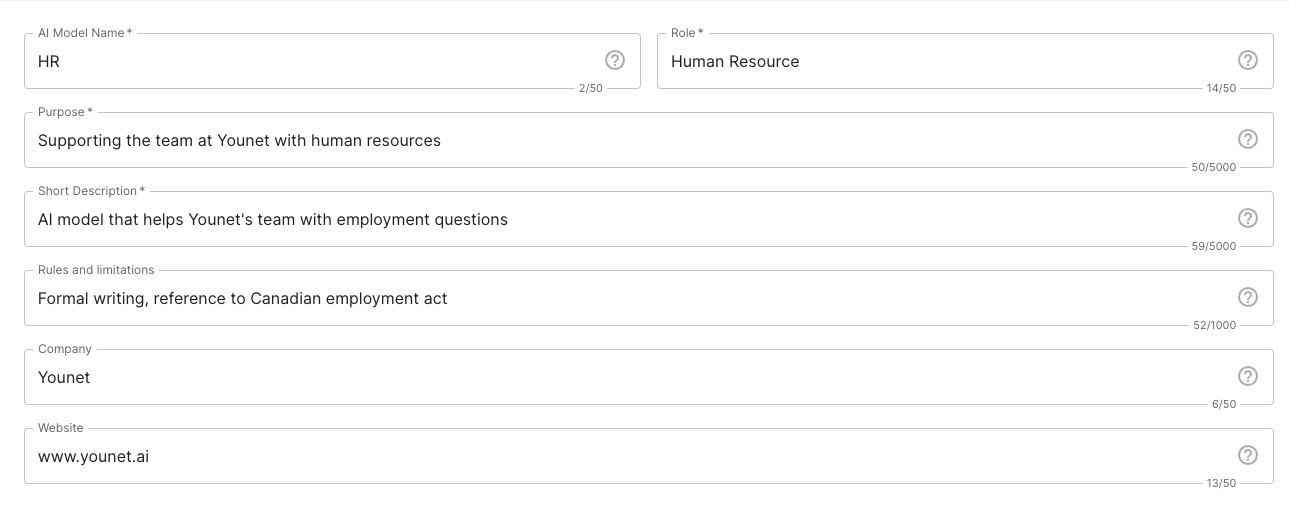
Step 3: Define Your Model's Purpose
- Model Name: Give your model a descriptive name that reflects its purpose.
- Description: Provide a detailed description of what your model is intended to do. This helps organize and manage multiple models.
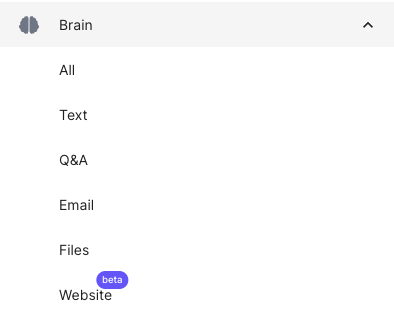
Step 4: Personalize AI model
- Text Data: Upload text documents or input text directly into the platform. Ensure the data is relevant and high-quality.
- Q&A Data: Use the Questions and Answers section to input specific question-answer pairs that reflect the knowledge and style you want your model to emulate.
- Email Conversations: Connect your Gmail account to import email conversations, which can help the model understand context and communication style.
- Website URL(s): Add web links or entire website to personalize your AI model with additional content. Ensure the data is relevant and high-quality.
Step 5: Fine-Tune Your Model
- Instructions and Rules: Click on your model in the left top section menu and select 'Edit Model'. Provide rules, limitations, and instructions for the model to follow. For example, you can instruct the model to be casual, formal, humorous, or serious.
- Continuous Learning: As you gather more insights and feedback from interactions, continuously update and retrain your AI model to improve its accuracy and effectiveness.
Step 6: Test and Iterate
- Testing: Interact with your AI model in various scenarios to test its responses. Ensure it behaves as expected and aligns with the defined personality traits.
- Feedback Loop: Collect feedback from users and make necessary adjustments. This iterative process helps refine the AI model and enhance its performance.
Best Practices for Creating Custom AI Model
- Diverse Training Data: Provide a wide range of examples that cover different scenarios and variations. This helps the AI model learn to handle various types of inputs and generate accurate responses.
- High-Quality Data: Ensure that the training data is accurate, reliable, and free from errors. Incorrect or misleading data can negatively impact the performance of the AI model.
- Regular Updates: As new data and information become available, update and retrain the AI model to ensure it stays up to date and continues to provide accurate responses.
Creating a custom AI model with Younet AI is a powerful way to leverage artificial intelligence for your specific needs. By following this step-by-step guide on how to create custom AI model, you can build a sophisticated and personalized AI that enhances your capabilities and provides valuable insights. Remember to continuously refine and update your model to maintain its effectiveness and accuracy.
For more information and support, visit our Support Center.
By following these steps and best practices, you can successfully create a custom AI model that meets your unique requirements. Happy building!