How to Create a No Code Personalized AI Chatbot For a Website
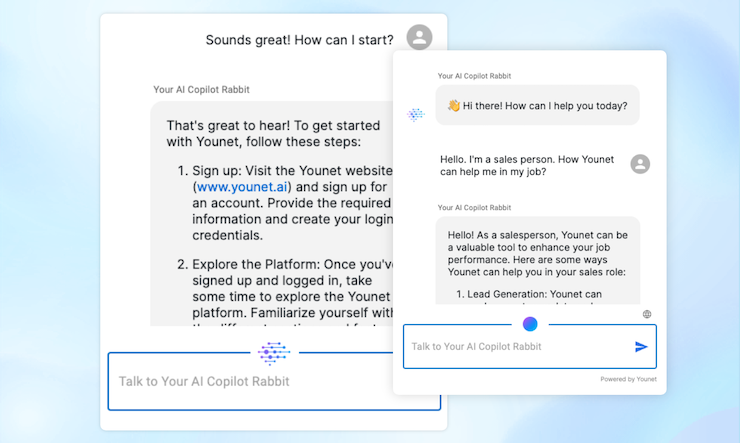
In today’s digital age, providing instant and effective communication on your website can significantly enhance user experience and customer satisfaction. Implementing a personalized AI website chatbot that knows your services or products can be a game-changer. This guide will guide you through creating an AI chatbot for a website on the Younet platform, without any coding, that can handle inquiries about your offerings.
Step 1: Set Up Your Younet Account
First, ensure you have an active Younet account. Visit younet.ai/portal and sign up or log in to your existing account. This account will be the hub where you will manage your AI models and other settings.
Step 2: Create and Personalize Your AI Model
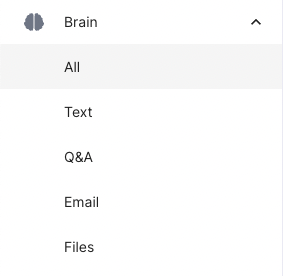
Navigate to the "Brain" section after logging in:
- Profile Setup: Start by setting up your profile and creating your first AI model. This involves answering some initial questions to set the baseline of your AI’s knowledge.
- Add Detailed Information: Enhance your AI’s understanding by adding detailed information about your company, services, or products. This could include text documents, presentations, FAQs, and more that describe what you offer.
Step 3: Train Your AI Model
- Training: Use the "Text", "Q&A", "Email", or "Files" sections to train your AI model. You may also use Playground to edit responses on the go by clicking an edit pencil button next to a response. Once your response is edited it will be stored in "Q&A". Here, you can input specific questions and provide the ideal answers that reflect your company’s tone and information. This step is crucial as it teaches the AI how to respond accurately to future queries.
- Continuous Learning: As you gather more insights and feedback from interactions, continuously update and retrain your AI model to improve its accuracy and effectiveness.
Step 4: Implement the Chatbot on Your Website
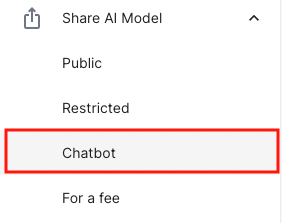
- Generate the Chatbot Code: Once your AI model is trained and ready, go to the "Share AI Model" section and select "Website Chatbot". Here, you can generate a JavaScript snippet tag.
- Website Integration: Place this JavaScript tag on your website. You can choose to have the chatbot appear as a floating icon on the side or embed it directly into a page as a button or both. This flexibility allows you to integrate the chatbot seamlessly with your site’s design and user interface.
Step 5: Monitor and Optimize
- Analytics: Monitor the interactions your chatbot handles to understand common queries and user behaviours. This data is invaluable for further refining your AI model.
- Feedback Loop: Encourage users to provide feedback on their chatbot interactions. Use this feedback to make necessary adjustments in the training section of your AI model.
Step 6: Check and Optimize Rules and Instructions
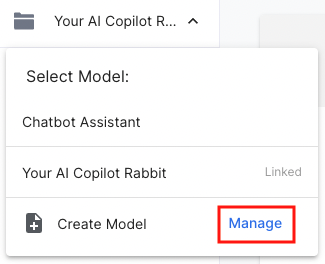
- Manage Rules and Instructions: To ensure your AI model behaves in line with your expectations, check and optimize its rules and instructions. Click on the top left menu dropdown of your AI models, select "Manage", then click the three dots next to your AI model and select "Edit". Here, you can adjust settings by instructing the AI on how to behave, what to say, and what not to say. This step is crucial for maintaining the integrity and relevance of your AI interactions.
Creating a personalized AI website chatbot with Younet is a straightforward process that can significantly boost your business’s engagement and customer service efficiency. By following these steps, you ensure that the chatbot is a true representative of your brand, capable of handling inquiries with the same professionalism and knowledge as a human counterpart.
For any further assistance or queries, feel free to contact our support team through your Younet profile or by asking a virtual Younet AI Assistant Rabbit directly from your profile at https://younet.ai/portal/rabbit-ai. We’re here to help you make the most out of your AI solutions!